Students have a 3D-pen. Teacher shows how the pen works and students start with easy freehand drawings. When everybody knows how to use pens, they can move to more complex structures.
| Learning Scenario Description | |
| Title | 3D-Drawing |
| Creator | JYU |
| Length | 90 minutes (2 x 45 minutes) |
| Main idea/description | Students have a 3D-pen. Teacher shows how the pen works and students start with easy freehand drawings. When everybody knows how to use pens, they can move to more complex structures. |
| Target group | 6th grade and up |
| Curriculum/learning subjects | Computer Science, Arts |
| Competencies | Students learn to perceive three dimensional structures and understand the order in which their parts should be created. Students also understand that the parts of the desired objects need to be connected in a certain order to make it possible to construct the structure |
| Teachers’ wellness competences | TC5. Emotional leadership/ e-mediacy |
| Learning Scenario Framework | |
| Pedagogical method | PI8. Focusing on Sense of purpose (Have a voice and be active) |
| Software/materials | Given that the students have the necessary equipment home, this assignment can be done fairly independently (e.g., similar to arts lessons during the coronavirus pandemic). However, the teacher needs to be present for the students to make sure that they get support when needed. Important! It is crucial that the safety of the 3D pens is ensured before this scenario takes place (e.g., by practicing together beforehand and only using the pen in a place that has adult support if needed) Other Materials Needed: 3D pens and PLA-plastic string. ABS can produce carcinogens and it should be avoided. Easy and complex models can be found from the internet and printed with a normal laser printer. See for example https://learn.the3doodler.com/stencils/ or https://www.3dandprint.eu/3d-stencils/. |
| Evaluation tools | The students can take pictures of their finished art. The teacher can also evaluate the process itself |
| Learning Scenario Implementation | |
| Learning activities | Introduction The students are introduced to 3D pens. Pens have to be preheated and the PLA plastic loaded in. Students are shown how the pen operates and given a warning about the hot tip and hot plastic. (5-10 minutes – this could be done on-site by teachers beforehand or by parents, if possible) 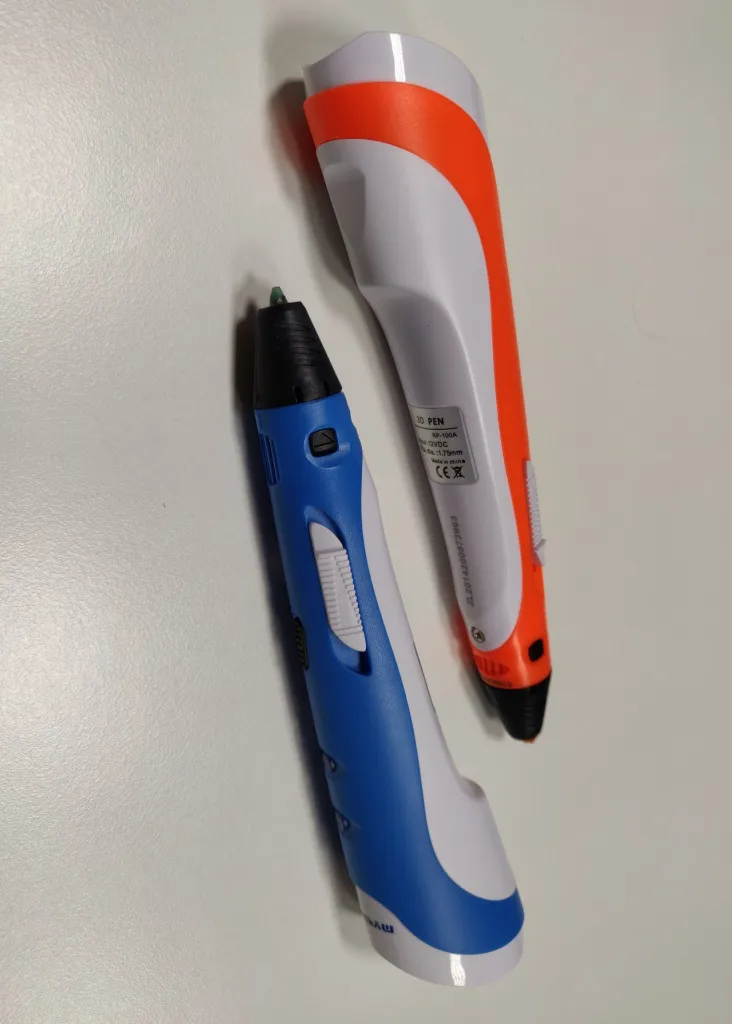 3D pensΑctivity 1 Students practice the use of the pen by creating 2D objects. They are given a laminated practice picture. The 2D object is created by tracing the practice picture. The created objects can be used for example to decorate the classroom. Discussion: When students are done, they can wait for the drawing to cool down and they can put it on their wall for everyone to see. They can also take pictures for the class. Students can talk together how they did different parts (10 minutes).  Snowflakes can be created during the winter timeΑctivity 2 Students can draw a picture with pencil or crayons. The picture is shielded with a laser printer transparency film and can be traced then. (20-30 minutes) Discussion: When students are done, they are pretty familiar with the 3D pen already. Teacher shows a pre-drawn set of things and then joins them to a 3D object. (VIDEO) (5-10 minutes)Activity 3 Teacher gives students models to choose from and students can start to draw the parts. After drawing, the parts are glued together with the 3D pen (30-60 minutes). The drawing is done in a similar manner as before except that once the 2D objects have cooled down, they are detached and ‘glued’ together using the pen (see the video). Students can keep drawing throughout the year and they will definitely constantly come up with new ideas (https://www.youtube.com/watch?v=106TEx0fgGs). 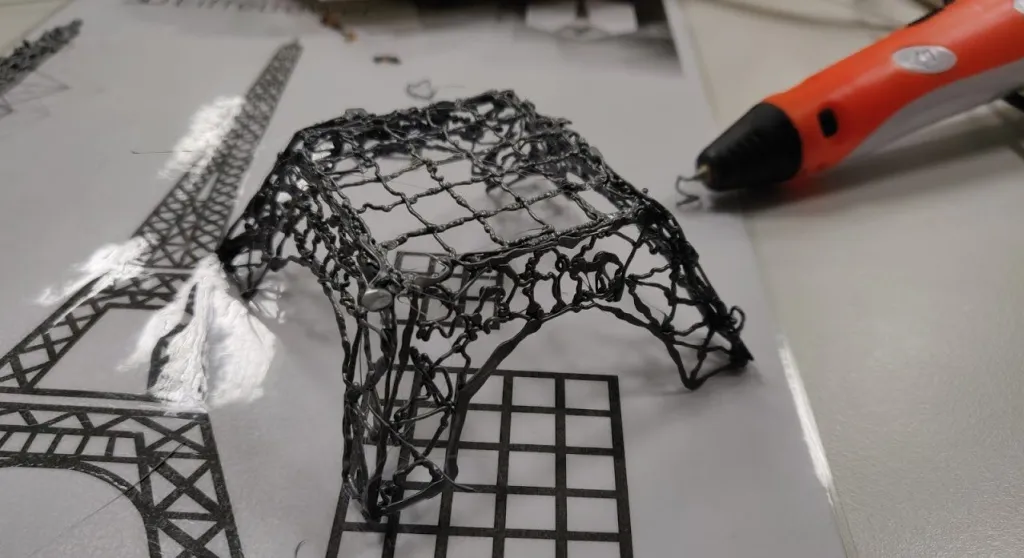 The Eiffel Tower is constructed from altogether 14 different pieces 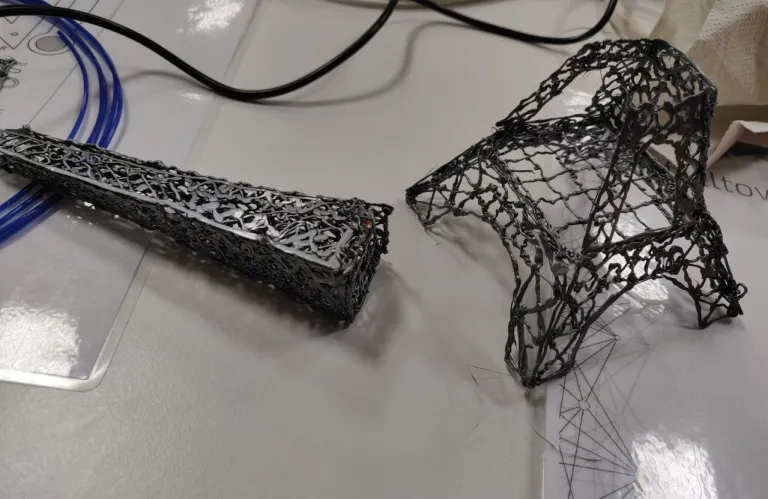 Building the Eiffel Tower 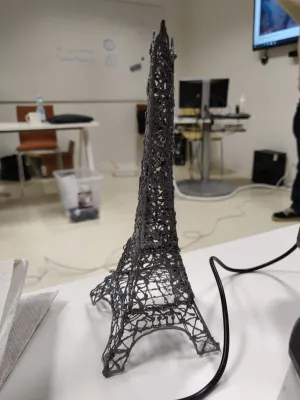 Ready-made Eiffel Tower 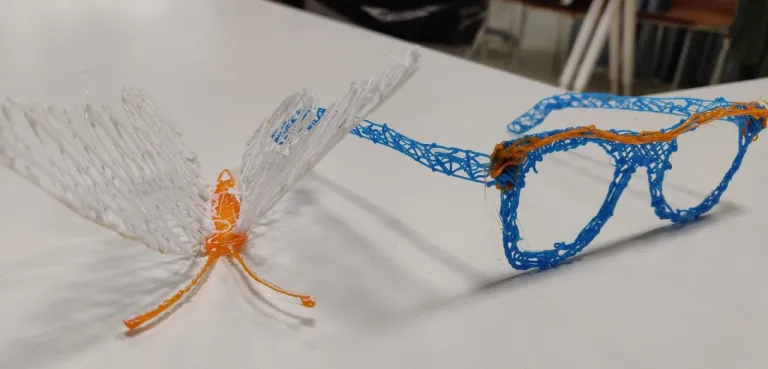 Other 3D objects |